
Saturday, December 12, 2015


Wednesday, September 23, 2015
My first commission: Quick-Fix on some wicker chairs
A local antiques dealer asked me if I could do a quick fix on a set of old wicker chairs that she had in her shop. They are in pretty bad shape. She just wants them sturdy and functional. She asked me to remove the wicker and fill in the void and she is going to put cushions on them.

no wicker and part of where the wicker attaches is completely broken off

Big old crack in the real leg. Pried it apart and put some west systems epoxy in there and clamped it

used a jigsaw to remove the wicker area in its entirety

Oak plywood cut to fit and attached with pocket screws, hey, I did say quick-fix

holds my weight just fine

one coat of mission oak poly-stain that I had laying around just to make it look a bit nicer
Took me 1 hour on the dot. 1 down 3 to go
Tuesday, August 18, 2015
Bar top for my wife's birthday
My wife wanted a bar for our kitchen island until I do the full remodel next year

The finished product

Made a pattern and used an upcut spiral bit to cut roughly halfway through


Cut down the center with a jigsaw

flip it over and trim the excess with a pattern bit

Glue in a strip of walnut and hand-plane flush

satisfying

rinse and repeat


marking out the supports


Friday, April 24, 2015
Maple and Cherry Hall Bench


all the pieces milled, cut to final dimensions, and all joinery cut. I made MDF patterns for the legs and stretchers, rough cut on the bandsaw and finished with a pattern bit on the router table.

Dry fit

Top gluing up


Friday, March 27, 2015


Tuesday, March 24, 2015
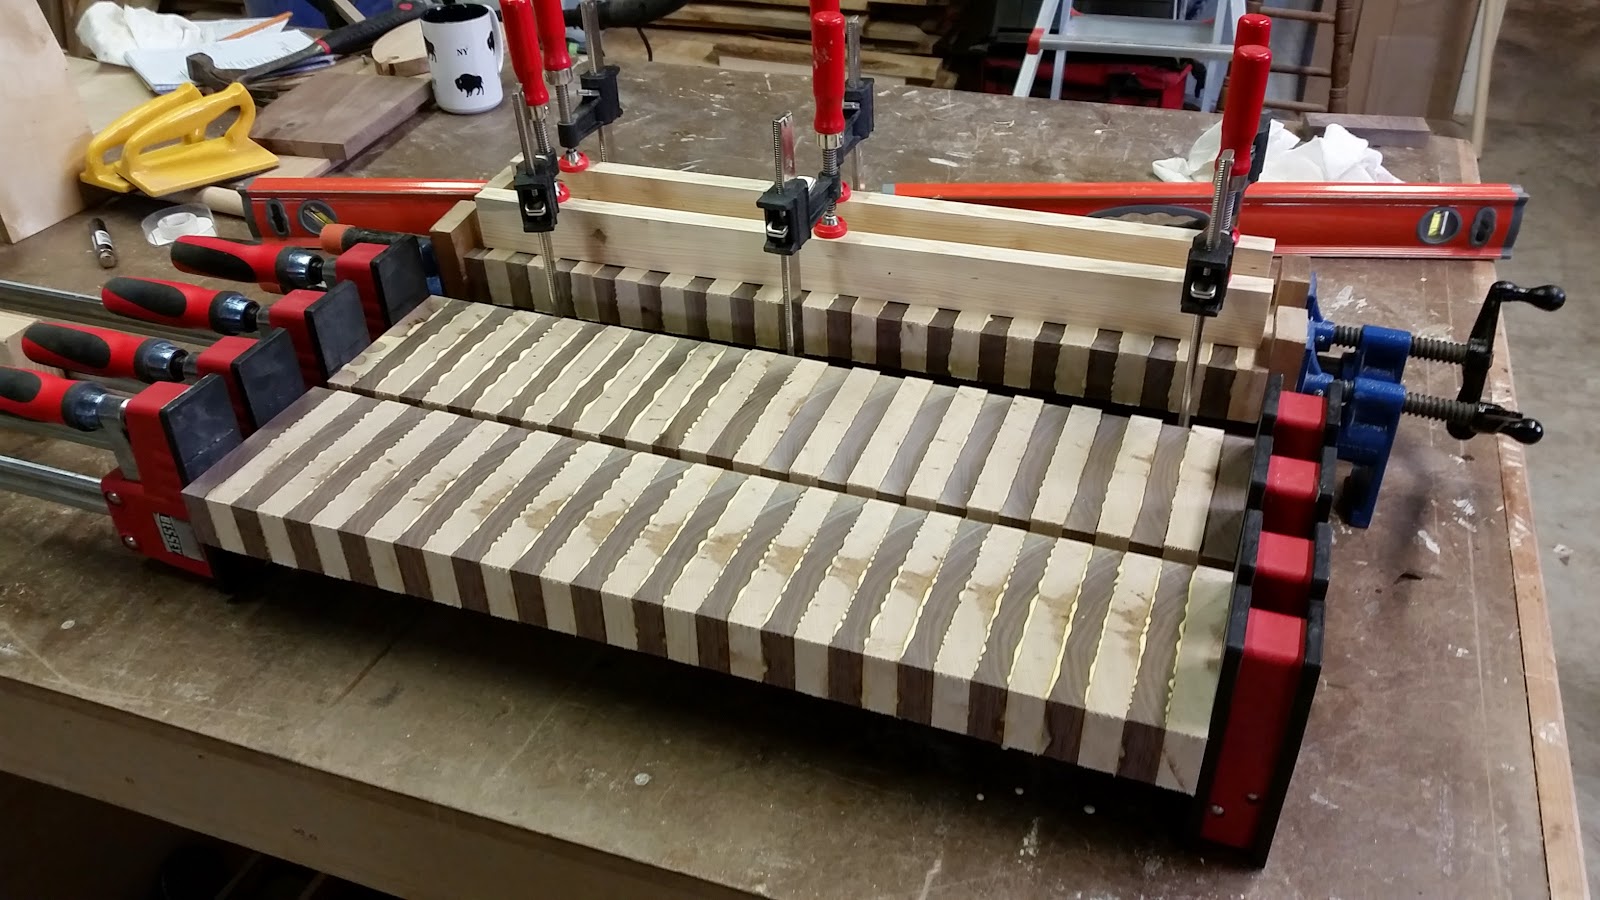
My first box
My first box build.
Maple and Walnut with mitered and splined corners.
4 corner grain match


Definitely learned a lot this first build. I think I've worked out the kinks and will fully document the next one
Thursday, March 19, 2015
Name Plate Business Card Holder
Quick project the other day. I'm making some wine totes to put up in one of our favorite restaurants and wanted something nice for people to contact me by


Lego/Train Table Build Post, updated along the way
Completed the table today!


This week I started designing and building a combo train and lego table for my kids.
This is the design:


This week I started designing and building a combo train and lego table for my kids.
This is the design:
The table top will be 36x48 and stand 18" high and will be covered in lego sheets
The 2 halves will slide out to reveal a large bin designed to hold sheets of hardboard that will have train scenery painted on them as well as a 22" expansion leaf. There will be room left over for storage of other misc items as well
The long sides will have 2 tilt out bins for storage
The short sides will have 2 drawers each.
The unit will be constructed of Maple for the casework, walnut for the drawer and bin faces, baltic birch plywood for the drawers and bins themselves, and MDF for the top.
As with every project I undertake I am incorporating some new (to me) techniques in the construction of this:
-Resawing, for the drawer and bin faces and the legs
-Domino loose tenon joinery
-Laminated legs? I don't know what it's called but here is a picture:
I resawed maple to 3/8 thick and then grain matched the 2" wide leg around a pine core (or whatever it was a ripped out of our old closet)
Here are some more pictures to date:
Lumber marked up
rough cut on miter and band saw and then jointed on 1 face and 1 edge
All of the external framing planed to 3/4", cut to final dimensions on table saw, and mortises cut with the Domino. The other internal framing pieces are planed to 3/4 only as they will be cut to fit.
My new time-saver!
the sides for the legs resawn jointed and planed
The centers of the legs gluing up
The sides of the legs cut to final dimensions and mitered
Framing Test Fit
Sliding dovetails for the top
All of the framing and center bin glued up
Idea I had for the pivot points for the side bin in lieu of piano hinges. Sliding dominos
All constructed, time to break it down, sand and finish
a little mineral spirits on a pair of drawer faces, should look awesome
Subscribe to:
Posts (Atom)